Adding a ConsignO Cloud field to a template
Adding ConsignO Cloud fields to your templates allows you to enhance them with ConsignO Cloud’s feature set. To add a ConsignO Cloud field to a Template Builder you’ll need to complete the following in your Smart Flows project.
-
A template to use in which to fields, refer to Creating a template.
-
An existing data set for mapping fields, refer to Creating a Data Set.
-
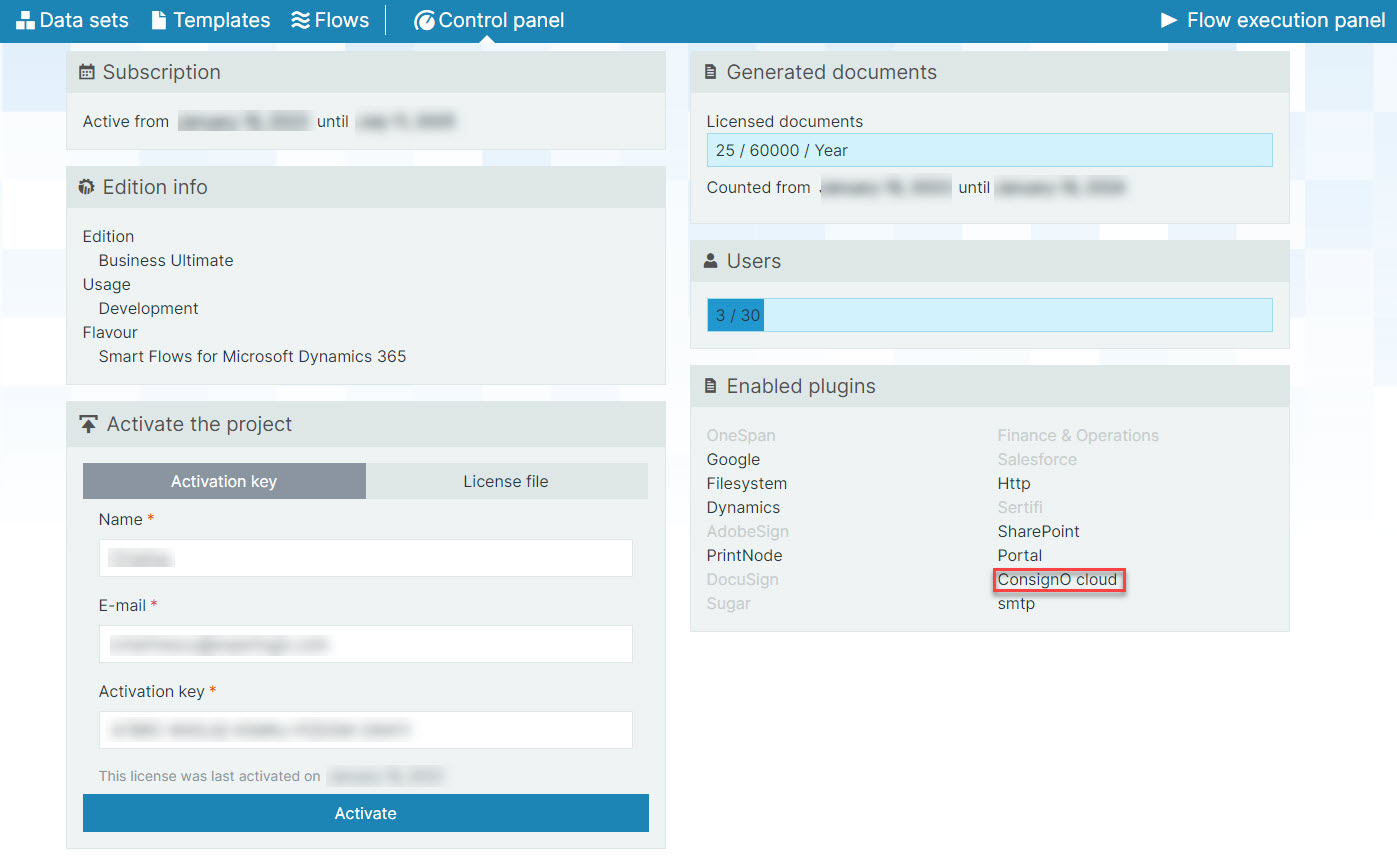
An active ConsignO Cloud license.
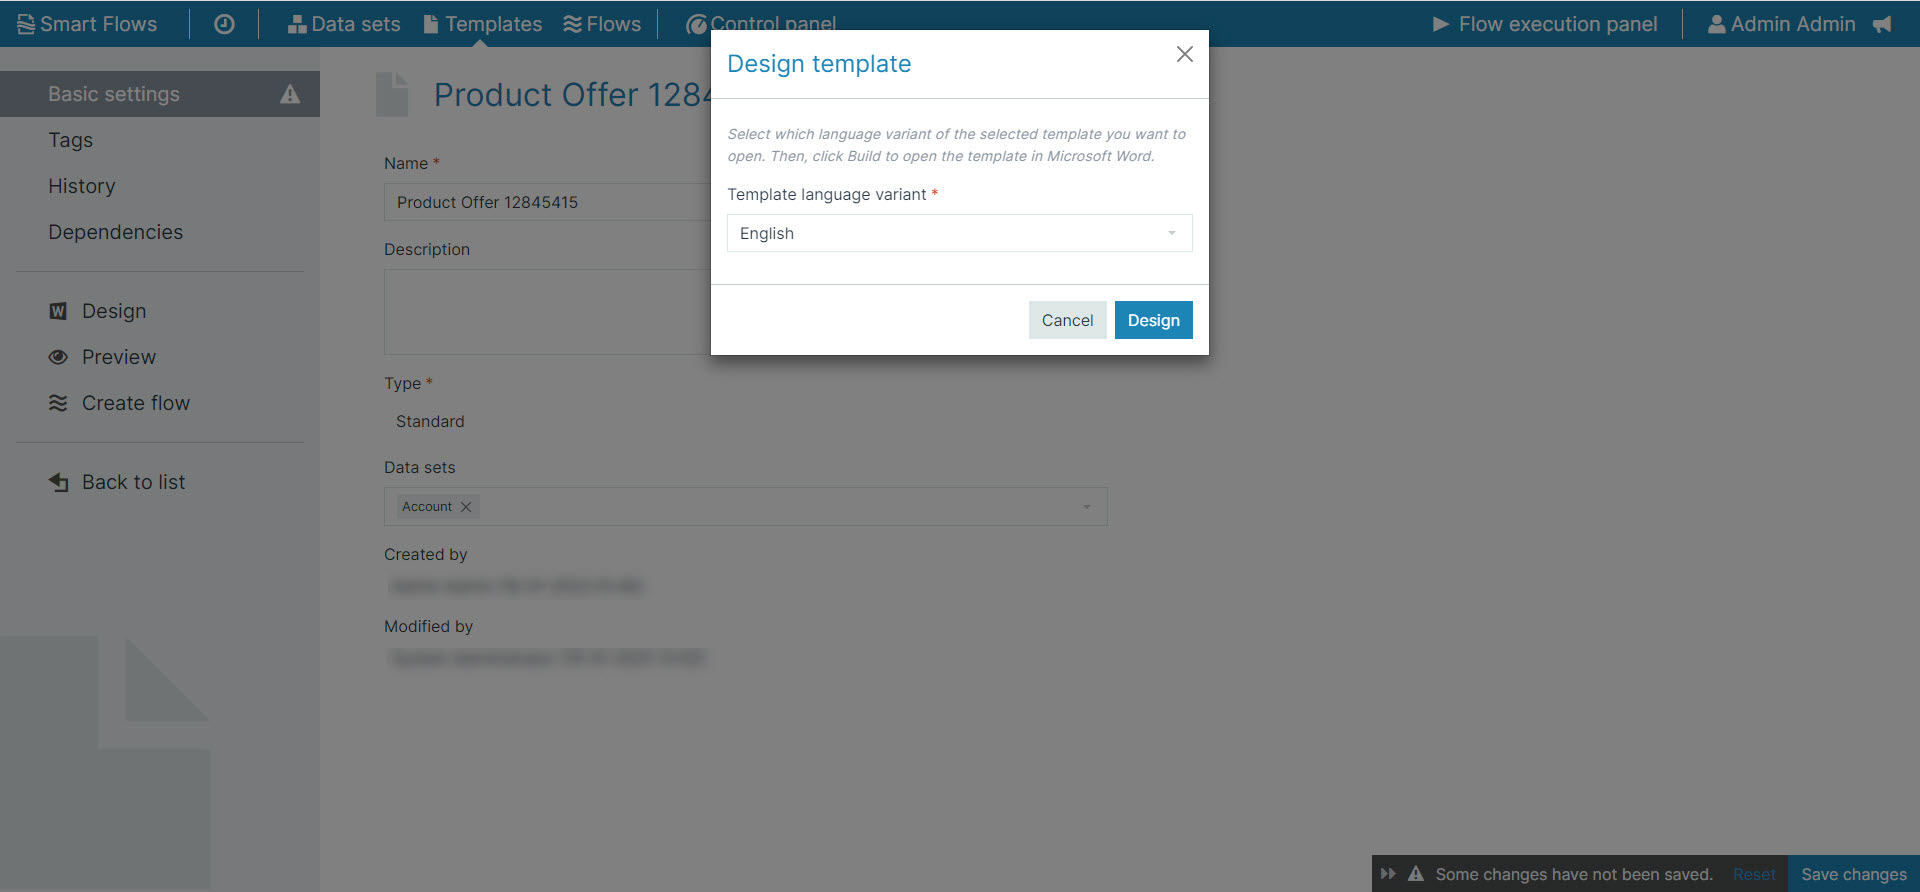
| 1. | In the left-hand navigation , select the Design button. |
The Design template window displays.
| 2. | (Optional)In the dropdown menu, select the Template language variant. |
| 3. | Select the Design button. |
Microsoft Word displays in a new window.
Microsoft Word displays in a new window.
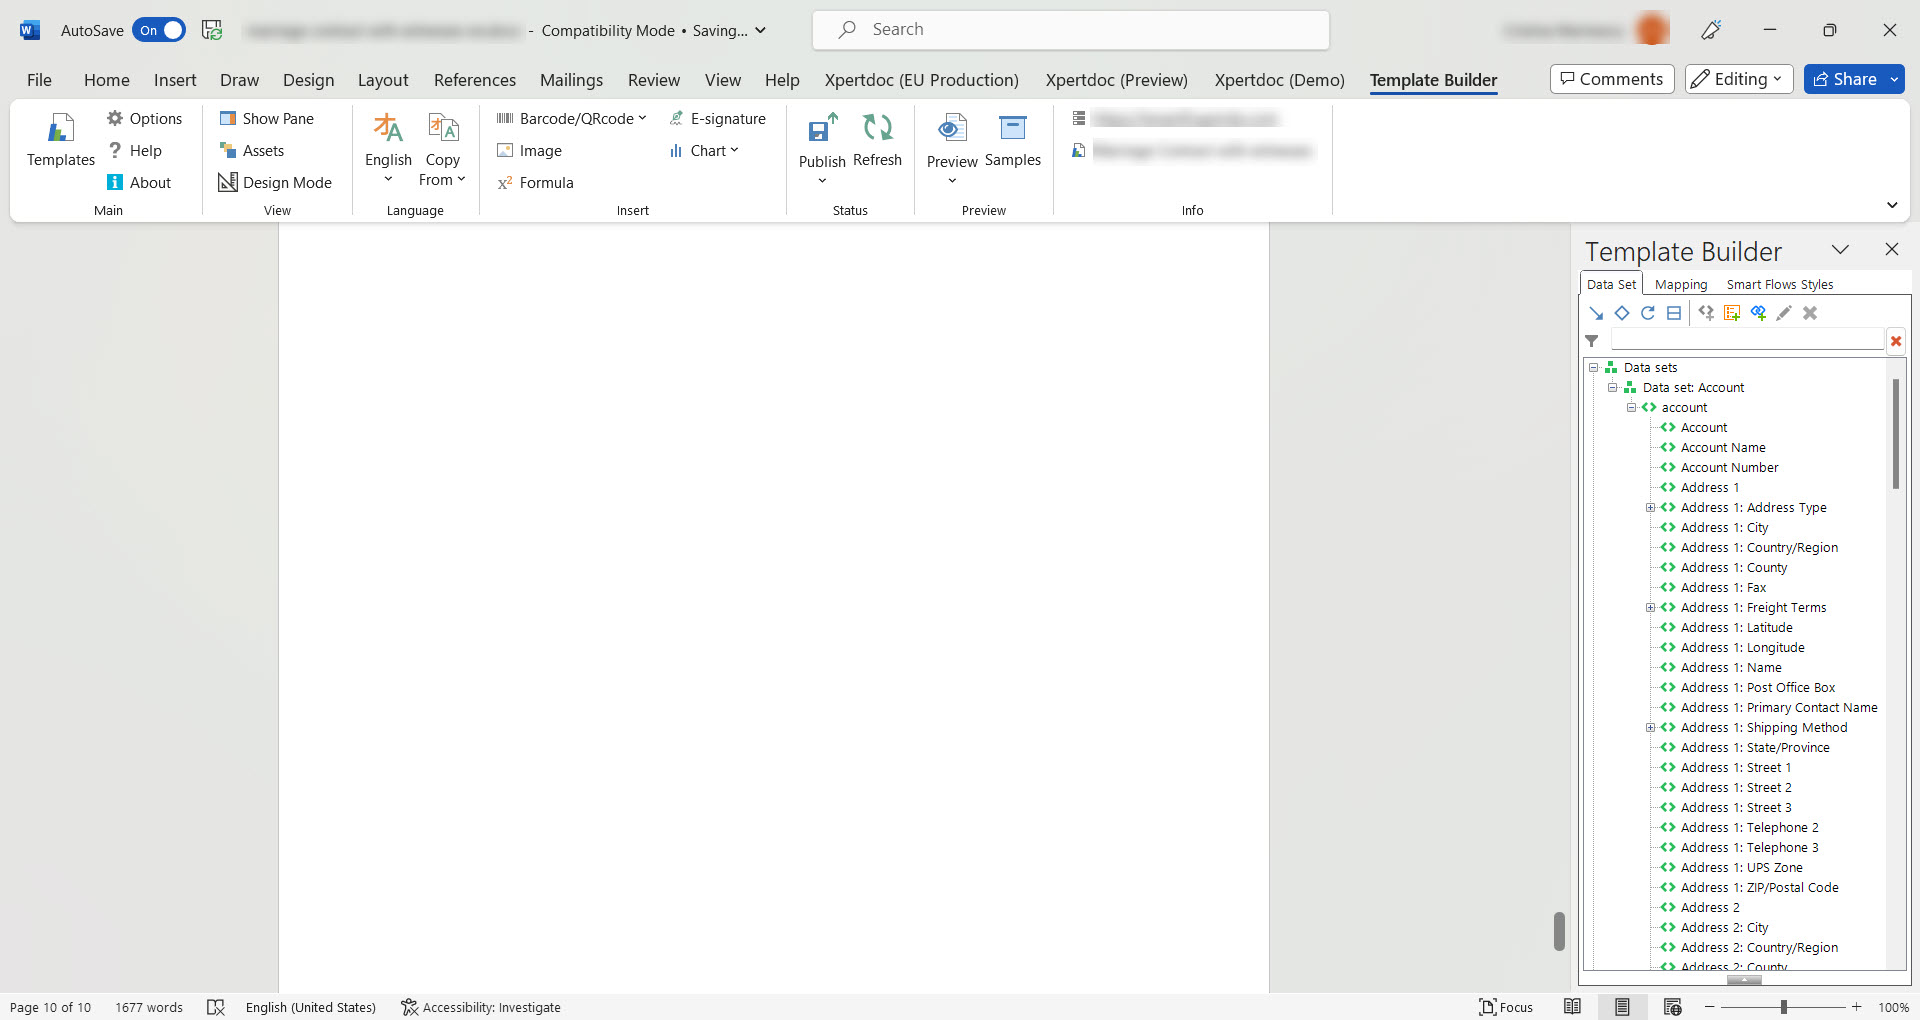
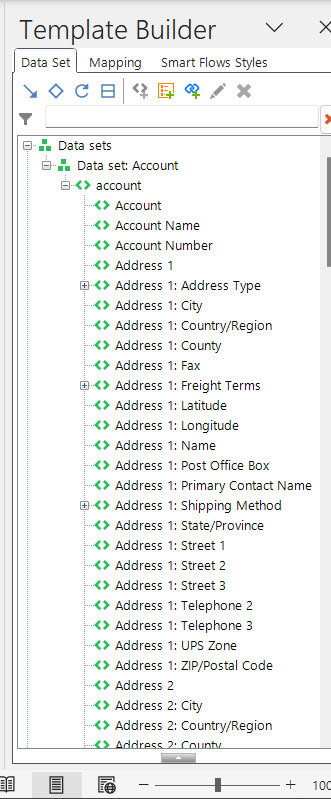
The list of available fields displays in your Data Set tab in Template Builder.
You can now design your template and add fields using the Microsoft Dynamics 365 CE Data Set tab.
Adding a ConsignO Cloud Element
Once you’ve opened your template in Template Builder, you can begin adding a ConsignO Cloud field to your template and you can configure the settings of the field to match your use case.
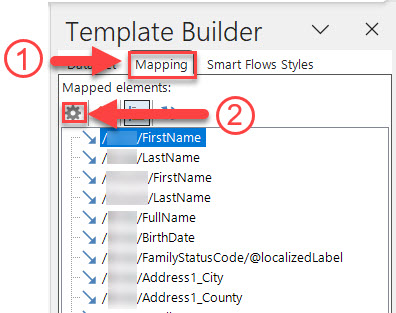
| 1. | In Template Builder, select the Mapping button. |
The list of Mapped elements displays.
| 2. | Select a field from the list. |
| 3. | Select the |
The "Adjust the mapping's formatting settings" window displays.
| 4. | Select the Formatting button. |
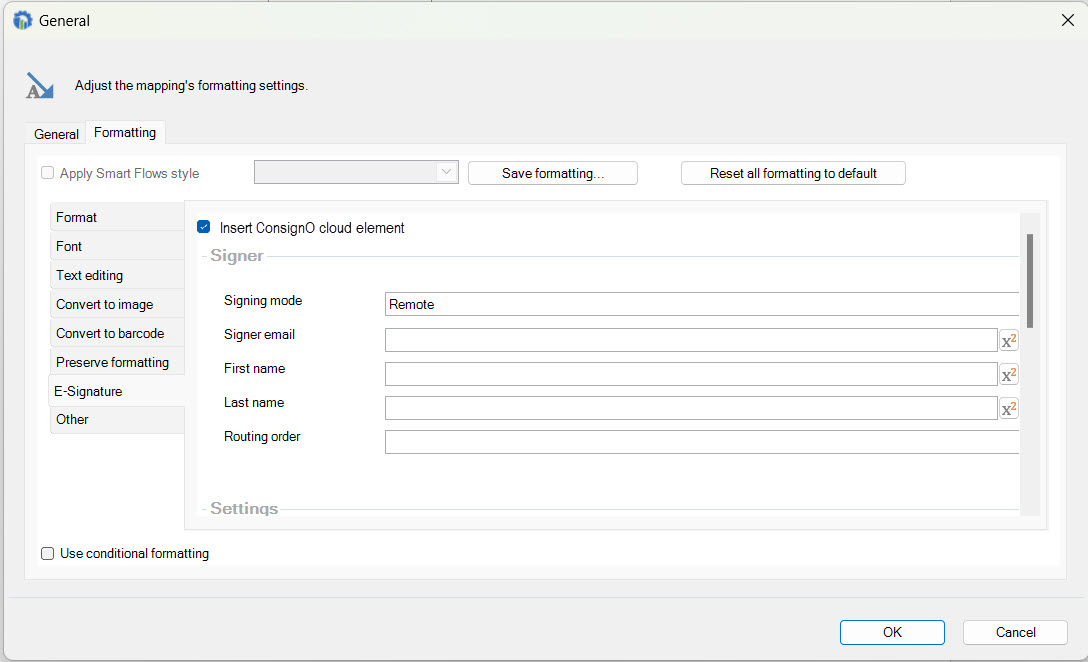
| 5. | Select the E-Signature button. |
The E-Signature tab displays.
| 6. | Select the Insert ConsignO Cloud element check-box. |
| 7. | Select the OK button. |
The ConsignO Cloud element is added to the template. Now, you can add the signer details.
After configuration you can publish the template to run a flow.
|
Field Name |
Description |
|---|---|
|
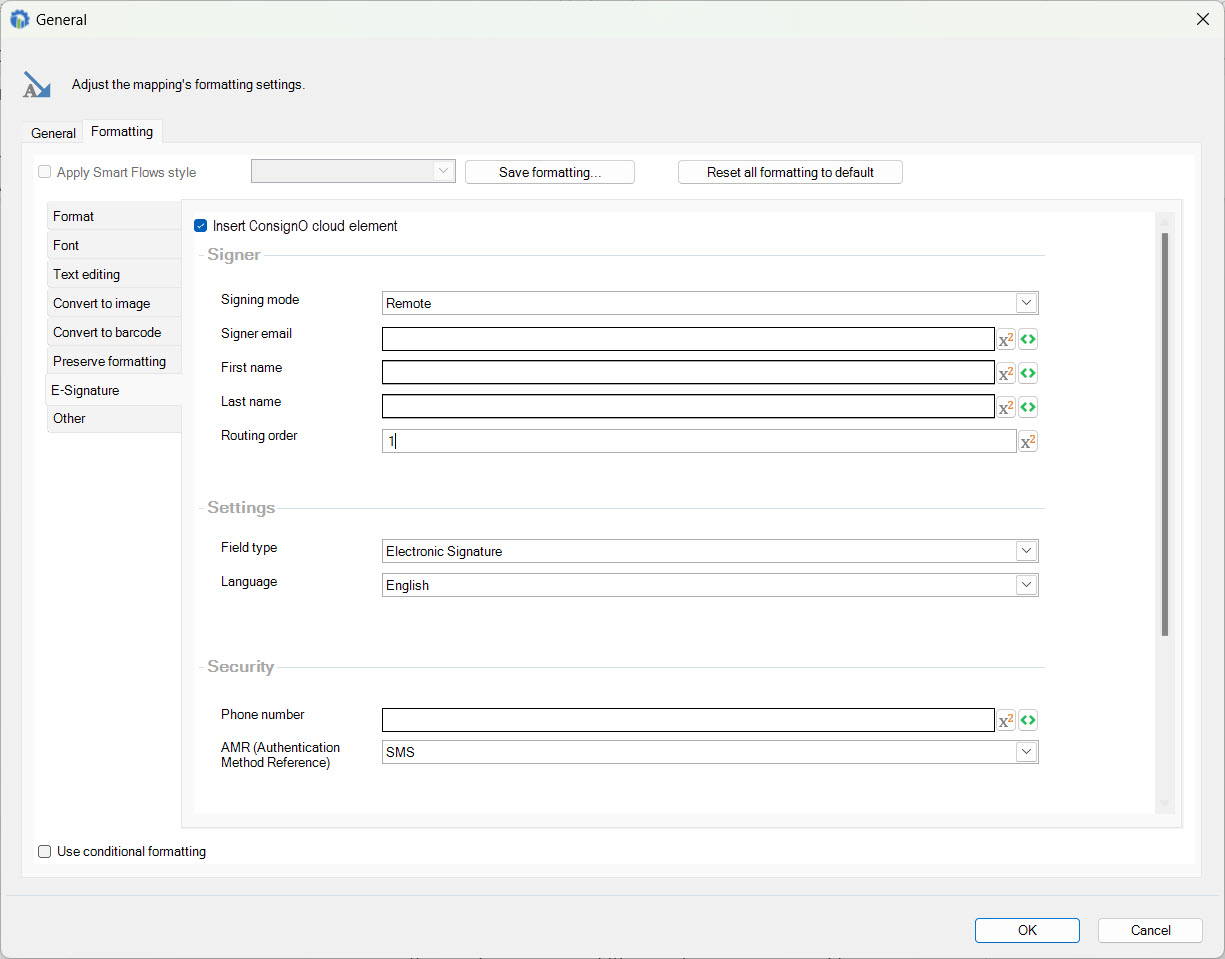
Signing mode |
Remote signing: An email containing the URL is sent to the signer. The signer needs to authenticate first before the document can be signed. Embedded signing: The URL is shared with the signer which the signer uses to authenticate and sign the document. |
|
Signer email |
Email address of the signer |
|
First name |
First name of the signer |
|
Last name |
Last name of the signer |
|
Routing order |
This setting determines the order in which the signers will sign the document and it starts at 1. For example: a signer with routing order 3 can only sign the document after all signers with routing order 2 have signed and a signer with routing order 2 can only sign the document after all signers with routing order 1 have signed. Another example: suppose we have two remote signers with routing order 1 and an embedded signer with routing order 2. In this case, both remote signers will receive an e-mail at the same time. Only after both remote signers have signed the document, the embedded signer receives an URL which needs to be used to sign the document. The signing process is done once the embedded signer has signed the document. |
|
Field type |
Electronic Signature: Signer will have an electronic signature with typically two authentication factors. This signature is a generic certificate with personal information within the reason field. Certifio: Signer will have to use CertifiO Desktop digital signature to complete this step. Text zone: Signer will have to fill the text field to complete this step. |
|
Language |
Preferred language (English or French) in which the signer is addressed to authenticate and to sign the document. |
|
Phone number |
Phone number of the signer. It is required if the signer wants to authenticate with "SMS" or "Call". It is not required if the signer wants to authenticate with "Secret". |
|
AMR (Authentication Method Reference) |
It determines how the signer will authenticate before signing the document. There are 3 options: SMS: a text message is sent to the phone number of the signer. This message contains the code that the signer needs to authenticate. The message looks like this in English: "ConsignO Cloud: 123456 is your code to input. The ConsignO Cloud Team." In French, it looks like this: "ConsignO Cloud: 123456 est le code à entrer. L'équipe ConsignO Cloud." Call: the signer gets a phone call and receives the code that is needed to authenticate. Secret: the signer uses a secret question and a secret answer to authenticate. This cannot be used with embedded signing.
|
